No products in the cart.
Chocolate, Dairy Free, Dinners, Egg Free, Favourites, GAPS, Gluten Free, Grain Free, Gut Health, Lunchbox, Lunches, Nut Free, Sauces, Thermomix, Vegan, Vegetables, Vegetarian, Wholefood
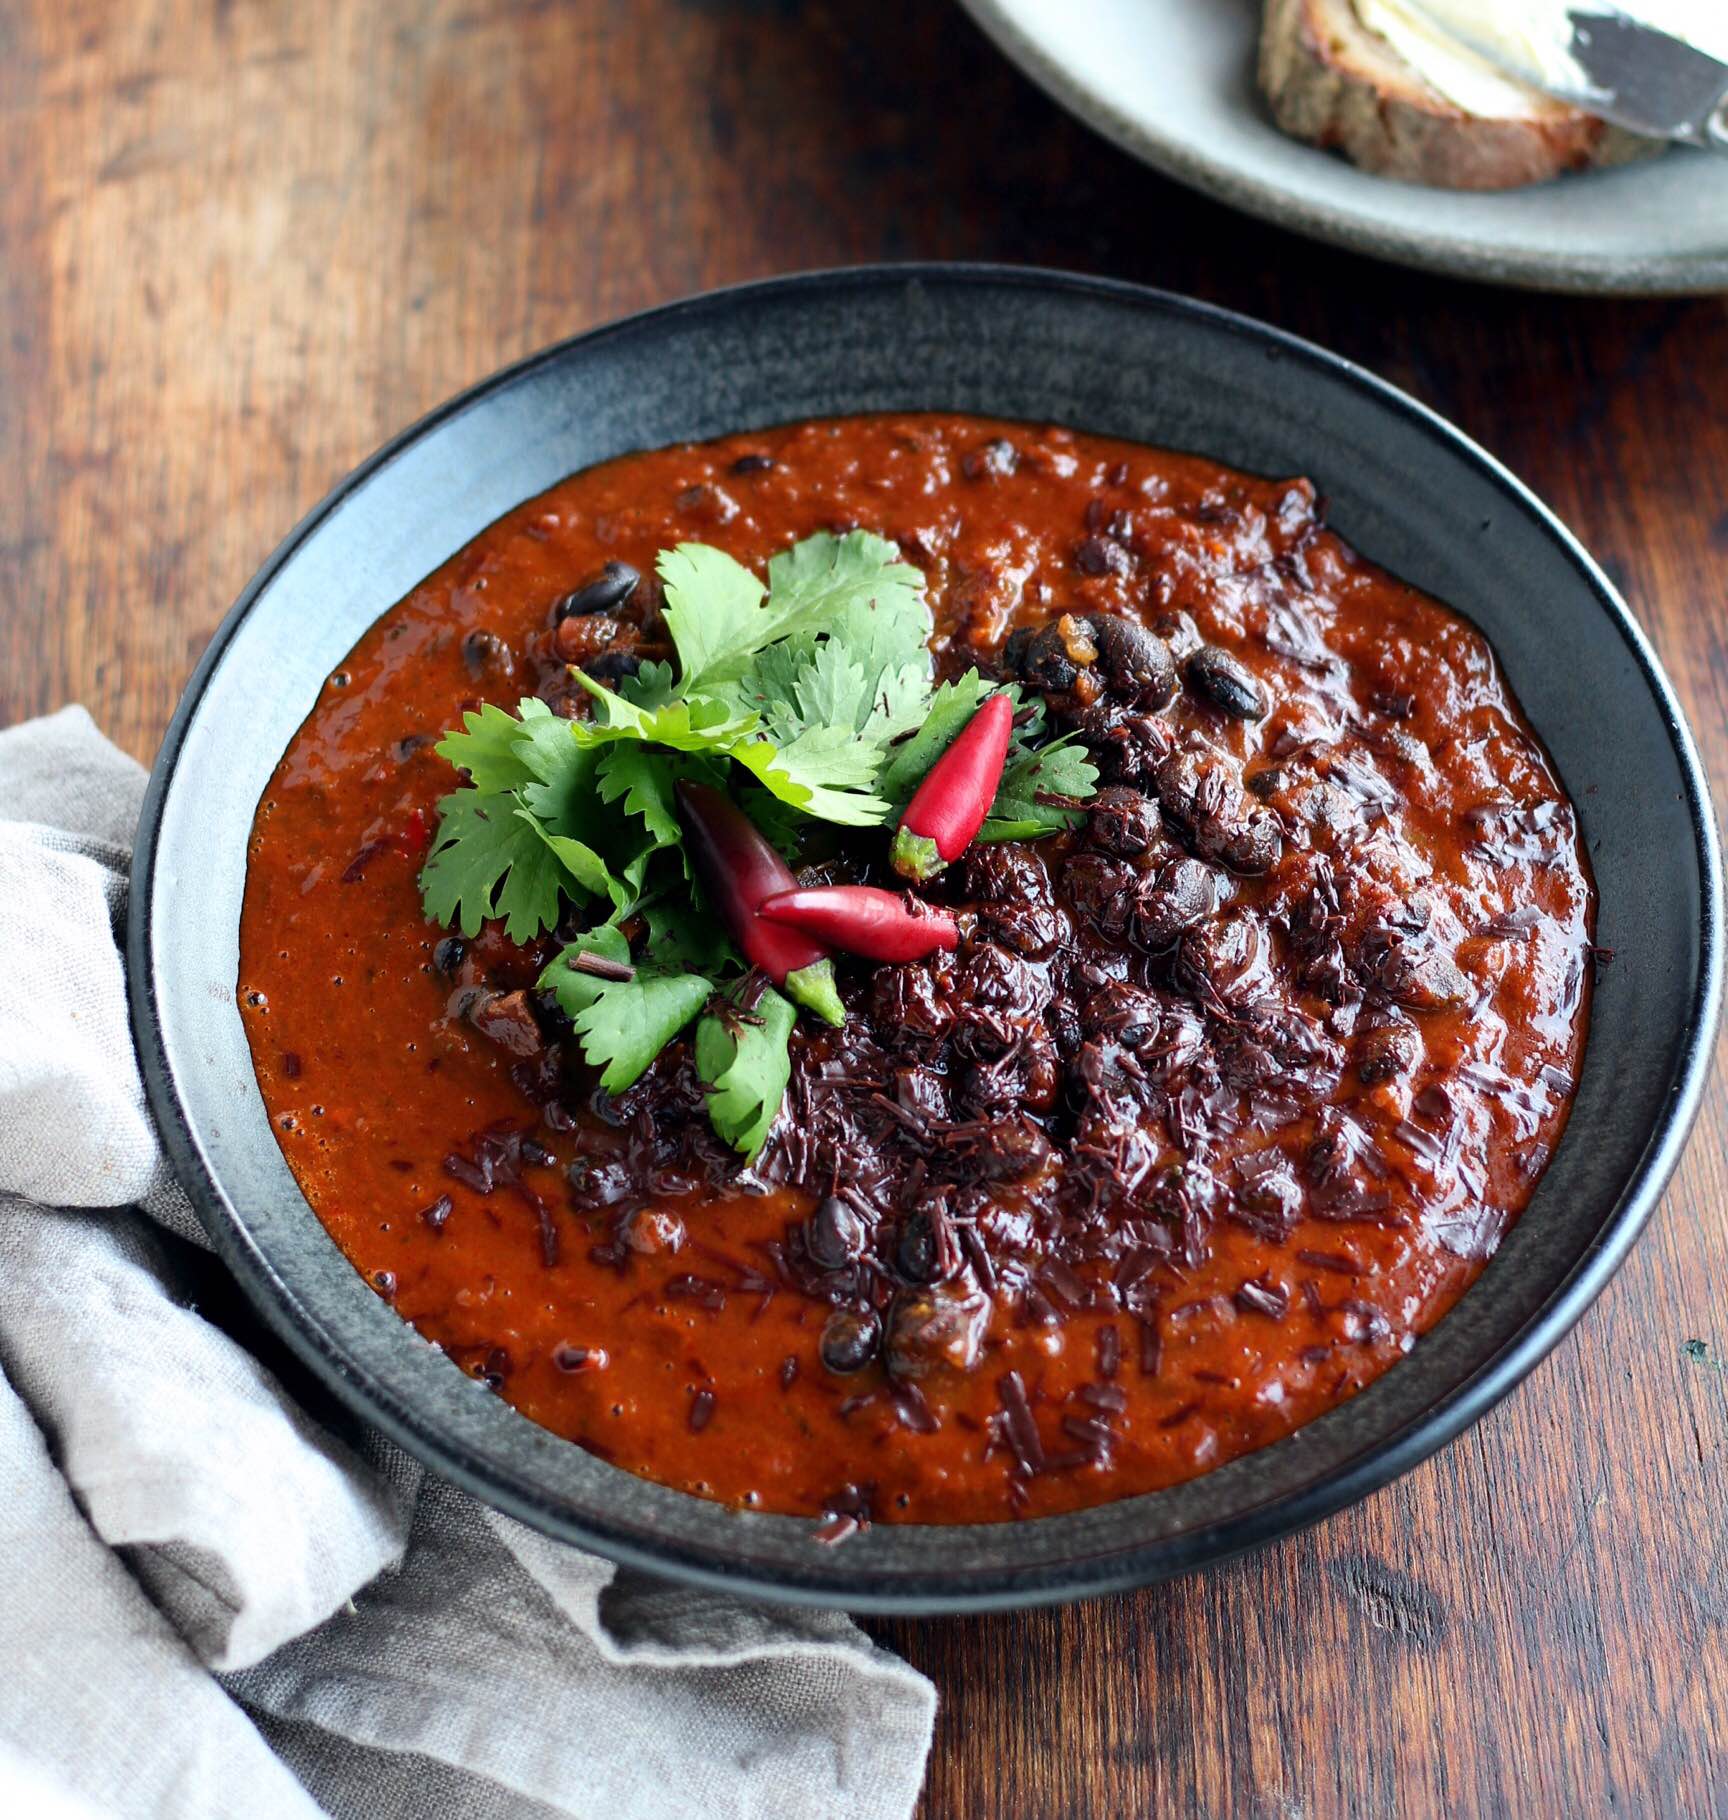
Black Bean Mole (Chilli Beans with Chocolate)

Photo by Arwen’s Thermo Pics
I love Mexican food. Well, maybe I’m really talking ‘Tex-Mex’ food, as that is what I was raised on. My parents are from south-west Texas, and my big sister was born down on the border of the southern tip of Texas, where it pokes into Mexico, in a town called McAllen. Down there, you have to look hard to find signs in English; the shop assistants greet you in Spanish (much to my confusion as a teenager) and the food is awesome! (Albeit rather SPICY!!)

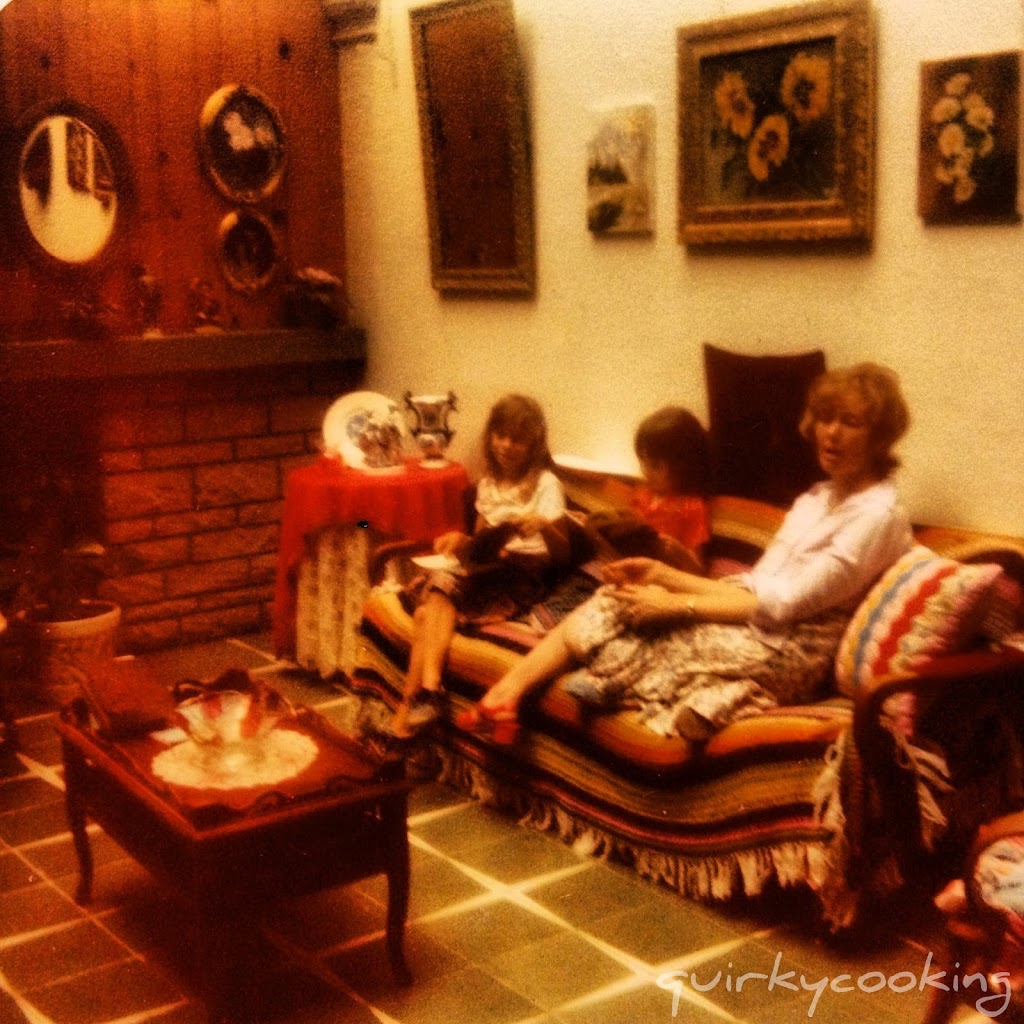
My big sister & I at our friend’s house in Mexico, 1978
My family moved to Australia just before I was born, and I grew up mostly in Far North Queensland, with occasional trips back to Texas. My friends always found the food we ate quite fascinating. Most of them had never even heard of tortillas (which is NOT pronounced tor-till-uhs, but tor-tee-ahs!), let alone refried beans, fajitas or enchiladas. They didn’t have leftover cornbread for breakfast like we did, either mushed up with milk, or toasted and dripping with melted butter and maple syrup. And if you mentioned jalapeños, chimichangas, huevos rancheros, hominy or tamales, they just looked puzzled. Unless they’d been over for dinner before… then they looked hungry! They knew if Mum was cooking Tex-Mex, they’d better find a way to get invited to stay. Same as when she was cooking fried chicken. But that’s getting off the topic…

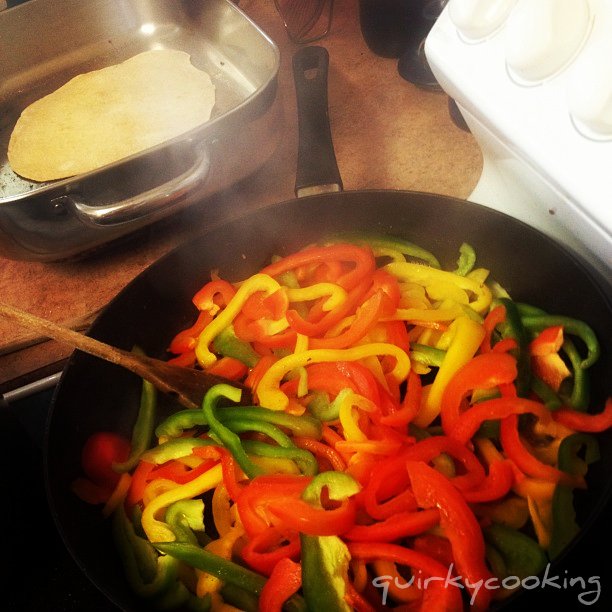
Sauteeing capsicum for fajitas, while cooking up some spelt tortillas
So fast forward to 2012, and Mexican food is much more well-known in Australia. In fact, it’s quite ‘the thing’, with authentic Mexican restaurants popping up around the country, online suppliers selling everything from ancho chillies to masa harina (for making corn tortillas), and Mexican food trucks cruising the city streets. Hey, I can even buy masa harina, hominy and tomatillos from my local IGA, and I live practically in ‘the sticks’!! I’m loving this new awareness of Mexican (and Tex-Mex) food, because this is the home cooking I grew up on, and it says ‘comfort food’ like nothing else does.

Being an incurable chocoholic, one of my favourite Mexican dishes is the national dish of Mexico, ‘mole poblano’ (pronounced ‘MOH-lay’) – a thick chocolate chilli sauce, complex and delicious, which is usually served over turkey or chicken.
Many legends surround the origin of mole poblano. The most common one goes like this. Sometime in 1680’s at the Convent of Santa Rosa in Puebla, the convent nuns heard that the archbishop was going to pay them a visit. They went into a panic because they were poor and had almost nothing to feed him. They prayed, and brought together the little bits of what they did have: chillies, spices, day-old tortillas, nuts, a little chocolate and more. They made a thick sauce out of these ingredients, killed an old turkey they had, cooked it up and served it with the sauce. The archbishop loved it. Mole poblano was born. [via this article and Wikipedia]
Every region of Mexico seems to have their own version of mole. It can be anything from dark, thick and chocolatey, to soup-like and bright green. There are red, yellow and black moles, some are served with turkey, chicken or pork, and some with vegetables. “All mole preparations begin with one or more types of chili pepper. The classic moles… such as mole poblano and mole negro, include two or more of the following types: ancho, pasilla, mulato and chipotle.Other ingredients can include black pepper, achiote, guaje (Leucaena leucocephala), cumin, cloves, anise, tomatoes, tomatillos, garlic, sesame seeds, dried fruit, hoja santa and many others.Mole poblano has an average of 20 ingredients; mole almendrado has an average of 26, and Oaxacan moles can have over 30.Chocolate, if used, is added at the end of cooking.” [Wikipedia] Some moles contain ground up nuts or pepitas, ground up cacao nibs or beans instead of chocolate, cinnamon, jaggery (similar to Rapadura), and even plantains! As you can see, there’s lots of room for experimenting, so feel free to add to my recipe and tweak it to your taste. I don’t have access to Mexican chillies where I live, so I just used regular red chillies – but if you can find ancho, pasilla and mulato chillies (lucky you!), try those. This recipe will give you an idea of how to use them – they’re not super hot, they’re kind of smokey.
Traditionally, mole takes days to make. The ingredients are roasted and ground up first, which, if done by hand, takes a full day in itself. The resulting powder or paste (depending on the ingredients in it) is mixed with broth and simmered in a heavy clay cauldron until it becomes a thick sauce. It has to be stirred constantly so it doesn’t burn. That’s the traditional way, which obviously isn’t done so much these days. Mostly people just buy a mole paste in a jar and add stock, a bit like making a curry from a jar of curry paste.

Slow-roasting the tomatoes, onions and garlic
As you know, I’m all for making quick and quirky versions of my old favourite recipes, using basic ingredients and my trusty Thermomix. (See for example Spelt Tortillas, Mexican Quinoa, Fajitas, Dairy Free Sour Cream and Mexican Black Bean & Chorizo Soup.) My version of Black Bean Mole won’t take you days, although it IS more time consuming than most of my recipes. But it’s totally worth it.
Note: If you’re looking for black beans (also called turtle beans), you’ll most likely find them at your local health food shop, or maybe in the International aisle of your grocery store. But if you can’t find them, try kidney beans, or even a mixture of beans. In the mole below, I used a mixture of green lentils, black beans, and pinto beans. Still tasted great!
Note: You can find Fine sea salt, Aussie Kibble Pepper and Organic Garlic for this recipe in my online store!

Black Bean Mole (Chili Beans with Chocolate)
2014-07-05 22:45:06

Ingredients
- 500g black (turtle) beans (uncooked)
- 5 large vine-ripened tomatoes, halved
- 1 or 2 Spanish onions, peeled and halved
- 4 large garlic cloves, in their skins
- extra virgin olive oil
- sea salt
- dried oregano
- 1/2 an onion (not chopped up)
- 2 garlic cloves (whole)
- 1 tsp of dried oregano
- 1 tsp olive oil
- 1 or 2 large red chillies, deseeded and halved
- 1 carrot, quartered
- 1 stick celery, quartered
- 1/2 yellow capsicum, halved again
- 1 handful fresh coriander leaves (optional)
- 50g olive oil or ghee
- 2-3 tsp ground cumin
- 3 tps smoked paprika
- 1-2 tsp dried oregano
- 1 tsp celtic sea salt or Himalayan salt
- 250g of the reserved cooking water
- 2 tsps balsamic vinegar
- 2 tsps Rapadura or honey
- 50g tomato paste
- 2 Tbspns veggie stock paste (or add salt to taste)
- a couple of tablespoons grated dark chocolate (65-80% cocoa, dairy free, bittersweet)
Instructions
- Pick through the dry beans and discard any that are shrivelled or have holes in them.
- Put beans into a big stockpot and cover with water. Bring to the boil, simmer a minute or two, then turn off heat and leave the beans covered for 1-2 hours. (Alternatively, you can do an overnight soak by covering the beans with water in a large bowl and leaving to soak for 6-8 hours.)
- While the beans are soaking, begin slow roasting the tomatoes, garlic and onion. Place the vegetables onto an oiled tray (onions cut side down) and drizzle generously with olive oil, sprinkle with salt and oregano, and roast at 140C for 3-4 hours. (Take the garlic out after an hour or so, once it's soft - don't let it cook too long or it'll go crunchy.)
- While the veggies continue to roast, drain the soaking water off the beans and place them into the Thermomix bowl. Add to bowl onion (halved), garlic cloves (whole), dried oregano and olive oil. Cover with water to the 2 litre mark. Cook at 100C for approx 2 hours (you'll have to reset the timer after 60 mins) reverse speed soft, with the rice basket on top instead of the MC. If it starts to bubble up, turn the heat down to 90C for a few minutes, then back up to 100C.
- Cook until beans are cooked through but not falling apart. It may take longer than 2 hours, depending on how old the beans are. They need to be cooked BEFORE you add any salt or tomatoes or they'll end up tough.
- When beans are done, strain the cooking water off to a jug and reserve for the chilli. Toss out the garlic and onion.
- Tip beans into a bowl and set aside for the moment.
- Rinse and dry Thermomix bowl. Toast the chilli/es 2 mins/100C/speed 1.
- Blend chillies on speed 7 until finely minced, scraping down and re-blending if necessary.
- Add carrot, celery, capsicum and coriander leaves and chop 3 sec/speed 5.
- Add oil or ghee and cook for 5 mins/100C/speed 1.
- Add spices and cook for another 2 mins/100C/speed 1.
- Add roasted veggies to bowl (removing skin from garlic) and chop 5 sec/speed 5.
- Add beans to bowl, along with balsamic vinegar, Rapadura or honey, tomato paste and veggie stock paste or salt.
- Cook 15 mins/100C/reverse/speed soft - until water is bubbling and reducing. Grate in the chocolate and cook for another 15 mins/100C/reverse/speed soft, adding the extra cooking water as needed to keep the beans wet but not too soupy. (Remember, only fill the Thermomix bowl up to the 2 litre mark.)
- Taste for the balance of flavours, add salt or spices or a splash more vinegar if needed. The flavour will improve as it sits. You'll notice it tastes even better the next day!
- Enjoy!
Notes
- You can reheat it in the Varoma, on wet baking paper, with 500g of boiling water in the bowl.
Quirky Cooking https://quirkycooking.com.au/

We had this for dinner the other night. It took quite a while to cook but it was mostly inactive time. Big winner in our house & enough for 3 dinners for my husband & I. Thank you Jo!
Hi Jo, could you use canned beans to cut down on cooking time? If so, how much/weight would you use? Thanks!
Yes, it would be about 800g cooked beans (not including the liquid in the tins) – so approx 3 400g tins. 🙂
Hi Jo, if I were to use tinned beans would I just leave out the onion and garlic that are used to cook the dried beans in? And would I reserve the bean water that is in the tin for the final steps? Thanks 🙂
Yes!
Also, step 15 says to cook until the ‘water’ is reducing, but I cannot see where water is added prior to that? Is the water just the juices from the tomatoes etc? Sorry for all the questions, I want to get it right as it will take me a while to make it so I don’t want to mess it up!
It should probably say ‘liquid’! Hope it went well x
Hi Jo
Could this be done with chicken instead on beans as sadly one of my intolerances is the legume family
Thanks
Hi Jo, I just found your blog and love it. This recipe looks amazing but as a non thermomix owner would you recommend the stove top or the pressure cooker?
I would recommend the stove top.
I am in the process of making this but at the step of straining beans after the two hours of cooking. The liquid is so thick that it will not strain through a colander. Should I rinse the beans to remove the glue and continue with the recipe. Any help would be greatly appreciated. TIA ????
Hi Anne! 🙂 Probably too late to answer this now…how did you go? xx
Great recipe, thanks! I found it much easier without using the thermomix though.